
การออกรถใหม่ VS ประกันภัยรถยนต์ ชั้น 1
การออกรถใหม่ ถือเป็นหนึ่งในเป้าหมายของใครหลายๆคน เพราะนอกจากจะช่วยเพิ่มความสะดวกสบายในยามเดินทางแล้ว ยังเป็นทรัพย์สินอีกชิ้นหนึ่งที่มาจากเงินที่เก็บหอมรอมริบเพื่อสิ่งนี้โดยเฉพาะ โดยการออกรถใหม่จะมาพร้อมกับข้อเสนอพิเศษที่คนซื้อรถควรต้องรู้และศึกษาหารายละเอียดให้ดี โดยเฉพาะประกันภัยรถยนต์ ชั้น 1 ซึ่งต้องเข้าใจก่อนว่า การออกรถใหม่ ก็มีรายละเอียดมากกว่าการเตรียมเงินดาวน์และคำนวนยอดการผ่อนชำระ โดยใช้เฉพาะในด้านกฎหมายที่ทำให้ “รถป้ายแดง” มีข้อจำกัดที่แตกต่างจากรถยนต์ป้ายขาวทั่วไป สำหรับใครที่มีแพลนจะออกรถใหม่หรือกำลังใช้รถป้ายแดงอยู่…

การอ่านเป็นกิจวัตรประจำวัน: ประโยชน์และวิธีการเริ่มต้น
การอ่านเป็นกิจกรรมที่มีประโยชน์อย่างมหาศาล ไม่เพียงช่วยให้ได้รับความรู้และขยายมุมมองเท่านั้น แต่ยังเป็นการพักผ่อนจิตใจและฝึกสมาธิได้อย่างน่าอัศจรรย์ หากสามารถทำให้การอ่านกลายเป็นกิจวัตรประจำวันได้ ก็จะนำพาชีวิตให้รุ่งเรืองทั้งร่างกายและจิตใจ มีความสุขและประสบความสำเร็จมากยิ่งขึ้น ความรู้และมุมมองที่กว้างขวางขึ้น การอ่านหนังสือเป็นประจำจะช่วยให้เราได้รับความรู้และข้อมูลใหม่ๆ อยู่เสมอ ไม่ว่าจะเป็นความรู้เชิงวิชาการ ข้อมูลเกี่ยวกับสถานการณ์ปัจจุบัน หรือแม้แต่เรื่องราวประสบการณ์ชีวิตของผู้คนในสังคมอื่น ความรู้เหล่านี้จะขยายมุมมองและทัศนคติของเราให้กว้างไกลและเปิดกว้างมากขึ้น ทำให้มีความคิดที่หลากหลายและเข้าใจความแตกต่างของผู้คนได้ดีขึ้น การพัฒนาทักษะการคิดวิเคราะห์…
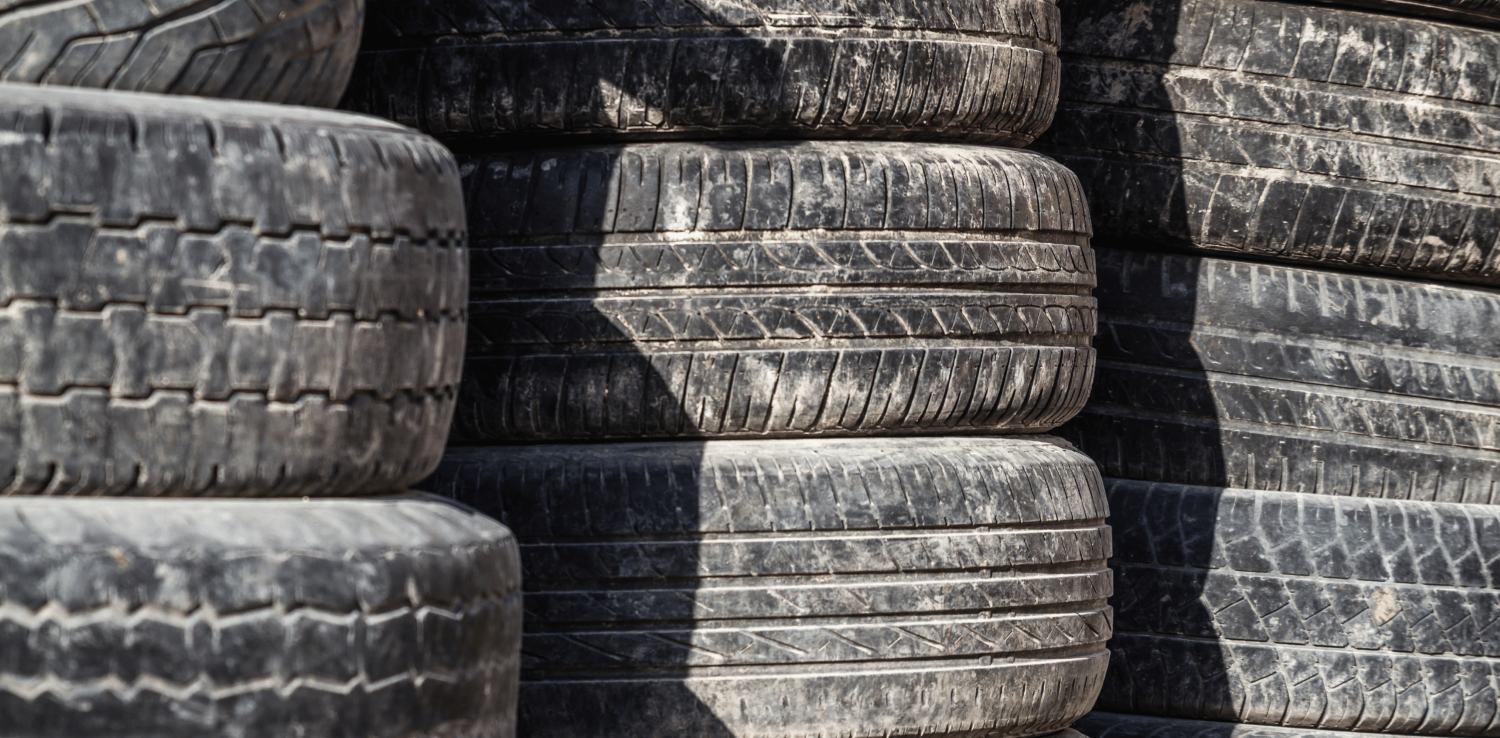
ยางรถยนต์เก่า…อย่าทิ้ง! นำมารีไซเคิลเพื่อประโยชน์สูงสุด
ยางรถยนต์ เป็นสิ่งของที่เราคุ้นเคยและพบเห็นได้ทั่วไป แต่รู้หรือไม่ว่า ยางรถเก่าที่เราเปลี่ยนออกมานั้น สามารถนำมารีไซเคิล เพื่อต่อยอดเป็นผลิตภัณฑ์ใหม่ ๆ ที่มีประโยชน์มากมาย นวัตกรรมยางรถยนต์สร้างจากดอกไม้ และขวดพลาสติกรีไซเคิล จะเป็นการใช้วัสดุในการผลิตรูปแบบใหม่ที่กำลังพัฒนาและคิดค้นโดยแบรนด์ยางอย่าง Continental ที่เลือกใช้ยางจากดอกไม้ และ ขวดพลาสติกรีไซเคิลได้…
การใช้วรรณกรรมในการสร้างสมาธิและการพัฒนาความคิด
วรรณกรรมเป็นสื่อที่มีพลังอันยิ่งใหญ่ในการพัฒนาจิตใจและปัญญาของมนุษย์ นอกจากจะให้ความบันเทิงและความรู้แล้ว การอ่านงานเขียนที่มีคุณภาพยังเป็นเครื่องมือที่สามารถฝึกสมาธิและกระตุ้นให้เกิดการคิดวิเคราะห์ได้อย่างน่าอัศจรรย์ โดยมีกระบวนการและประโยชน์ที่น่าสนใจ ดังนี้ การอ่านช้าและตั้งใจจะช่วยฝึกสมาธิและจิตใจให้สงบนิ่ง การอ่านหนังสือที่มีคุณภาพนั้นต้องทำด้วยความรอบคอบและใจจดจ่ออยู่กับเนื้อหาอย่างแท้จริง ท่ามกลางสภาพแวดล้อมที่เงียบสงบและปราศจากสิ่งรบกวน กระบวนการนี้จะฝึกสมาธิของผู้อ่านให้แน่วแน่และจิตใจสงบนิ่ง มุ่งความสนใจไปที่บรรทัดและตัวอักษรเพียงอย่างเดียว นับเป็นการฝึกสมาธิแบบธรรมชาติที่ช่วยให้จิตใจผ่อนคลายและว่างจากกังวล การตีความและวิเคราะห์เนื้อหาจะกระตุ้นการคิดวิเคราะห์อย่างลึกซึ้ง นอกจากจะฝึกสมาธิได้แล้ว การอ่านยังเปิดโอกาสให้ผู้อ่านได้ตีความและวิเคราะห์เนื้อหาผ่านภาษาที่งดงามและความคิดของผู้ประพันธ์ เช่น…

ศิลปะของการเขียน: การสร้างผลงานที่มีคุณค่าและอิทธิพล
การเขียนเป็นศิลปะที่สูงส่งและมีพลังอันยิ่งใหญ่ เป็นเครื่องมือในการถ่ายทอดความคิด อารมณ์ ความรู้สึก และจินตนาการให้คงอยู่ตลอดกาล ผลงานเขียนที่ดีเยี่ยมสามารถสร้างอิทธิพลอย่างยาวนานต่อความคิดและจิตวิญญาณของมนุษยชาติ แต่การประพันธ์ผลงานที่มีคุณค่าและอิทธิพลเช่นนั้นต้องอาศัยความทุ่มเทและปัจจัยสำคัญหลายประการ เนื้อหาที่น่าสนใจและมีความลึกซึ้ง ผลงานเขียนที่มีคุณค่าต้องนำเสนอเนื้อหาที่แปลกใหม่ น่าสนใจ และกระตุ้นให้ผู้อ่านคิดตาม อาจเป็นการเล่าเรื่องราวที่ไม่เคยมีใครเล่ามาก่อน การวิเคราะห์ปัญหาสังคมอย่างละเอียดลึกซึ้ง หรือการนำเสนอแนวคิดหรือทฤษฎีใหม่ๆ ที่ท้าทายความเชื่อเดิมของมนุษย์…